In the process of 3D printing, the belt, as an important part of the transmission system, directly affects the printing accuracy and stability. After long-term use, the belt may be slack, worn or even broken, which will lead to problems such as layer deviation and inaccurate size of the printed model. Therefore, mastering how to change the belt of a 3D printer is one of the basic skills that every 3D printing enthusiast or technician must master.
I. Preparations
Before replacing the leather belt, you need to prepare the following tools and materials:
-New belts (it is recommended to use belts compatible with the original factory or the same model)
-Hexagon wrench or screwdriver (depending on the printer model)
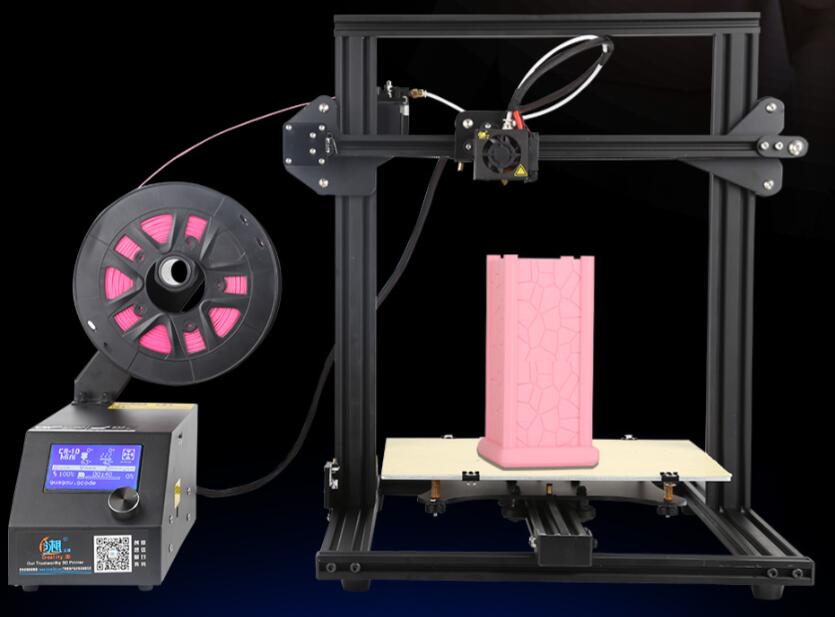
-Scissors or knives (for cutting old belts)
-Gloves (to protect hands)
-Optional: Lubricant (for structures with pulleys)
In addition, it is recommended to turn off the power supply of the printer before replacement to ensure safe operation.
Second, identify the type of belt that needs to be replaced
3D printers usually have a belt drive system in both X-axis and Y-axis directions. Different brands and models of printers use different types of belts, such as T2.5, GT2 and HTD. It is very important to confirm the belt model that needs to be replaced, so as to avoid installation failure or unstable operation due to model mismatch.
Step 3: Dismantle the old belt
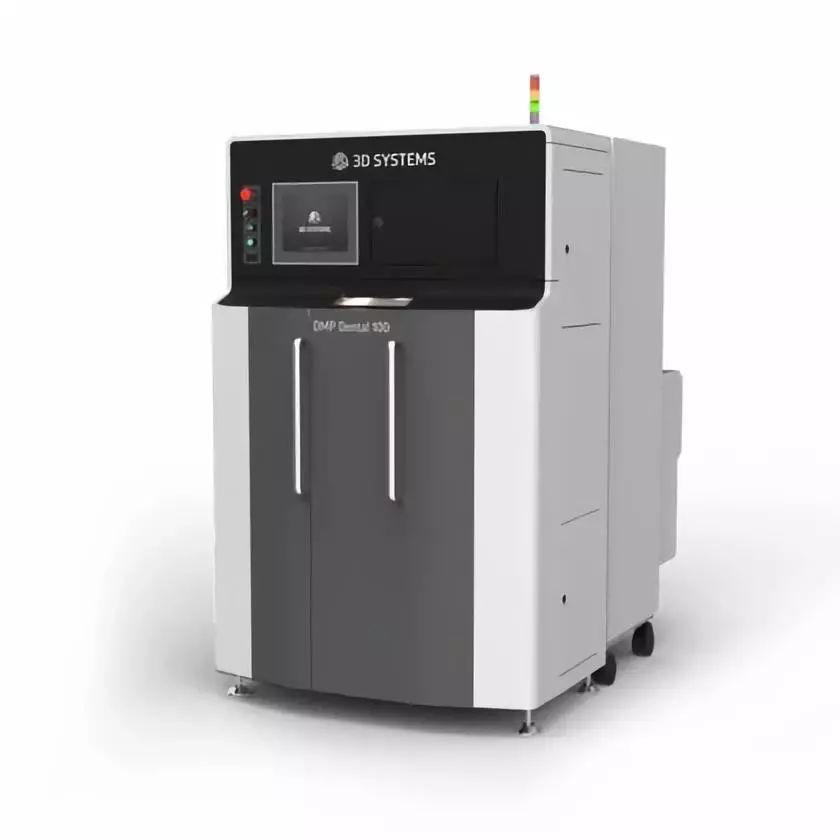
1. Loosen the tensioning device: Most 3D printers are equipped with tensioning wheels or screws to adjust the belt tightness. Loosen it with a screwdriver.
2. Remove the fixed end of the belt: the belt is usually fixed on the slider by a slider or a fixing clip. Unscrew the fixing screw and take out one end of the old belt.
3. Remove the belt: Remove the belt from the pulley and motor gear. If the belt is tight or difficult to remove, use scissors to carefully cut the belt for easy removal.
Step 4: Install a new belt
1. Bypass pulley and motor gear: Pass the new belt around the pulley and motor gear of Y axis or X axis in turn to ensure that the belt is fully meshed with the gear.
2. Fix one end of the belt: fix one end to the slider and tighten it with screws to ensure that the belt will not slide.
3. Adjust the tension: gently pull the middle part of the belt by hand to ensure that it has a certain tension but not too tight. Use the tension screw or adjusting device to adjust it to a proper tightness-usually it is better to press the middle part without obvious sag.
4. Check whether the movement is smooth: move the slider manually to check whether the belt runs smoothly without jamming or abnormal noise.
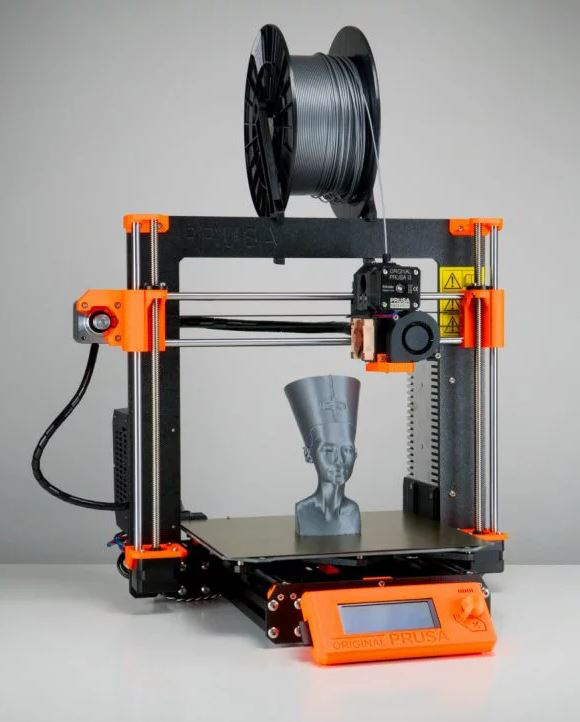
V. Testing and Calibration
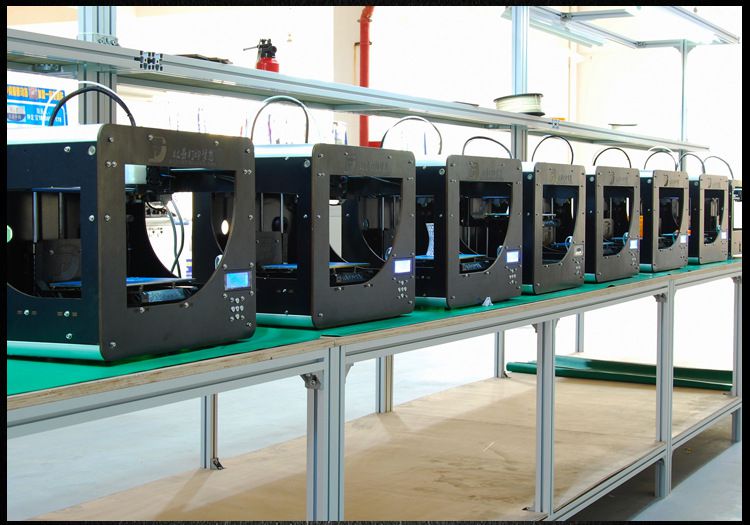
After the installation is completed, reconnect the power supply and conduct an empty machine test. Run a test code (such as G1 X200 Y200 in G code) to observe whether the belt runs smoothly. If there is noise or jitter, it may be necessary to further adjust the tension.
Then it is suggested to carry out printing test, especially to use a test model with fine structure to ensure that the printing accuracy will return to normal after replacing the belt.
tag
Although it seems simple to replace the belt of a 3D printer, it has a direct impact on the printing quality. Regular inspection and maintenance of the transmission system can not only prolong the service life of the printer, but also improve the printing effect. As long as the correct steps are followed, even novices can successfully complete the replacement work. I hope this article can help you master this skill smoothly and make your 3D printing journey smoother and more efficient.

 Hotline:18914229323

 18914229323
 huichangwen@126.com