In the process of 3D printing, stepping motor is the core component to control the movement of print head and platform, and its accuracy directly affects the printing quality. The calibration of stepping motor is one of the important links in the daily maintenance and adjustment of 3D printer. Only by accurately calibrating the step distance of stepping motor can we ensure the dimensional accuracy and interlayer alignment of printed objects and avoid problems such as wire drawing, staggered layers and dimensional deviation.
First, the basic principle and calibration significance of stepping motor
Stepper motor is an executive element that converts electric pulse signal into angular displacement or linear displacement. In a 3D printer, every step of rotation of each motor corresponds to the precise movement of the print head (X/Y axis) or the platform (Z axis). The controller controls the number of steps and direction of motor movement by sending pulse signals, so as to realize accurate positioning of three-dimensional space.
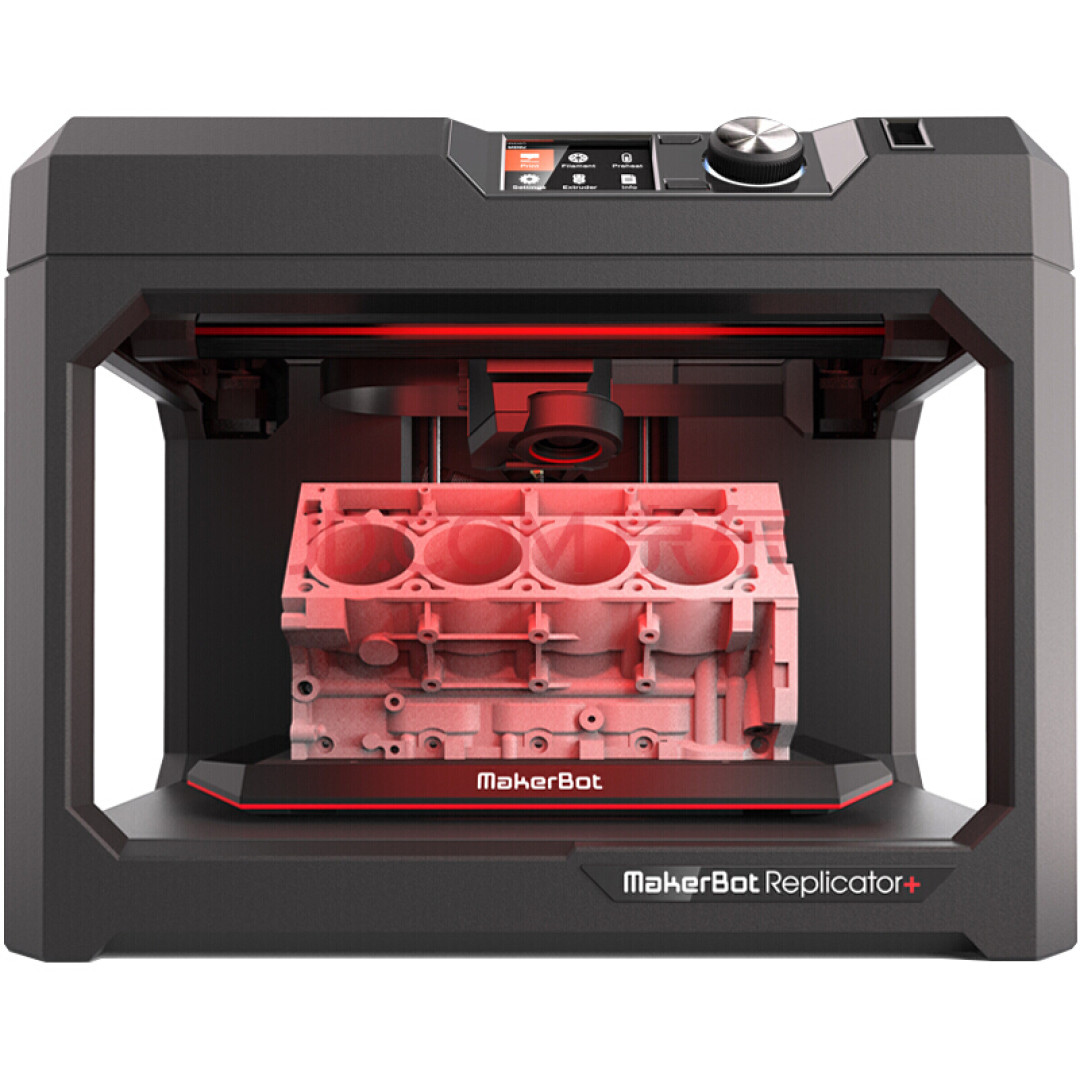
The common calibration parameters of stepping motor are "step angle" or "steps per millimeter" (steps/mm). This parameter indicates the number of pulses that the motor needs to send out every millimeter to push the nozzle or platform. If this value is not set accurately, even if the instruction in G code moves 10 mm, it may actually move 9.8 mm or 10.2 mm, resulting in inaccurate finished product size.
Second, the preparation work before calibration
Before calibration, the following points need to be ensured:
-Printer firmware supports manual adjustment of stepper motor parameters;
-Use high-precision measuring tools, such as graphic ruler;
-Ensure that the mechanical structure (such as belt tensioning and guide rail lubrication) is in good condition, so as to avoid mechanical problems affecting the calibration results;
-Prepare a simple G code test file to test the moving distance.
Third, the specific calibration steps
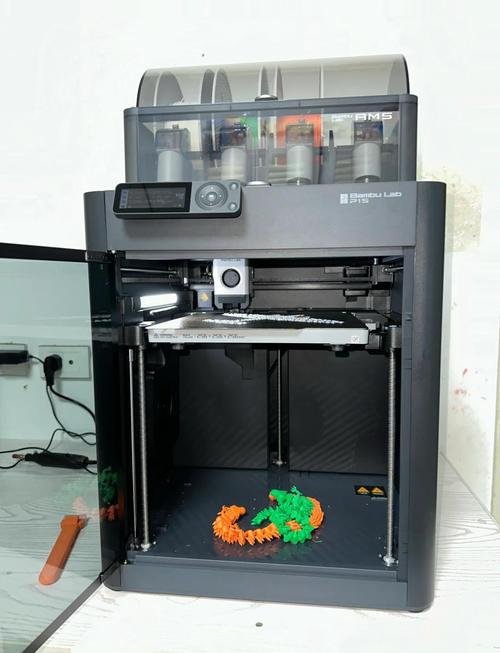
Take the calibration of X axis as an example:
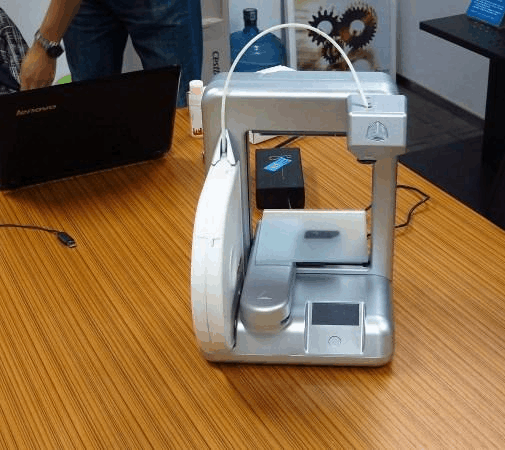
1. Marking the initial position: use a marker to mark the initial position of the nozzle on the printing platform.
2. Send the moving instruction: send the G code instruction `G1X100F1000` through the printing control software (such as Pronterface and OctoPrint) to move the nozzle 100 mm in the X-axis direction.
3. Measure the actual moving distance: use calipers to measure the actual moving distance. For example, it shows a movement of 100mm, but it is actually 98 mm.
4. Calculate the new step parameters:
-Suppose the original setting is ` x _ steps _ per _ mm = 80`;
-The actual movement is 98mm;;
-The new number of steps should be ` (80 × 100) ÷ 98 ≈ 81.63 `.
5. Update firmware parameters: enter the printer firmware (such as Marlin) settings and modify the value of X axis in `default _ axis _ steps _ per _ unit' to a new value.
6. Save and repeat the test: upload the new firmware and repeat the test until the actual moving distance is consistent with the instruction.
The calibration method of Y axis and Z axis is similar, but special attention should be paid to the pitch and screw accuracy of Z axis to ensure the correct height.
Fourth, matters needing attention
-Calibration should be carried out in different axes to avoid errors caused by multi-axis interference;
-After calibration, it is recommended to conduct an actual printing test to observe whether the size is accurate;
-After replacing the motor, driver or transmission structure, it must be recalibrated;
-Some printers with TFT screens can directly adjust the step parameters through the menu, without re-burning the firmware.
V. Conclusion
Calibrating the stepper motor of 3D printer seems to be technical, but anyone can do it easily as long as they master the method. It is the basic step to improve printing accuracy and ensure printing quality. Regular calibration can not only prolong the service life of equipment, but also significantly improve the professionalism of printed works. For 3D printing enthusiasts and professional users, mastering the correct stepping motor calibration skills is an important step towards high-quality printing.

 Hotline:18914229323

 18914229323
 huichangwen@126.com