In the process of 3D printing, accurate mechanical positioning is one of the key factors to ensure printing quality and accuracy. The limit switch (Endstop) is an important part used to detect the movement limit position of each axis in a 3D printer. Whether its adjustment is accurate or not directly affects the initial positioning, platform leveling and overall printing effect of the printer. Therefore, mastering how to correctly adjust the limit switch of a 3D printer is a basic skill that every 3D printing enthusiast or practitioner must possess.
1. What is a limit switch?
The limit switch is a sensor used to detect whether the mechanical movement reaches the predetermined position. In a 3D printer, usually the X, Y and Z axes are equipped with limit switches to control the initial position of the print head in three directions respectively. There are two common types of limit switches: mechanical limit switches are triggered by physical contact, and inductive limit switches work by magnetic or photoelectric principles. The latter is more common in high-end printers.
Second, why should we adjust the limit switch?
1. Ensure accurate leveling of the platform: especially the position of the Z-axis limit switch directly affects the distance between the nozzle and the printing platform (the so-called "nozzle height"). If the limit switch is not set properly, the printing platform will be uneven, and the nozzle will be too high (unable to stick) or too low (blocking the nozzle).
2. Improve printing accuracy and consistency: The correct limit setting can ensure that the starting point of each printing is consistent and improve the accuracy of printed products.
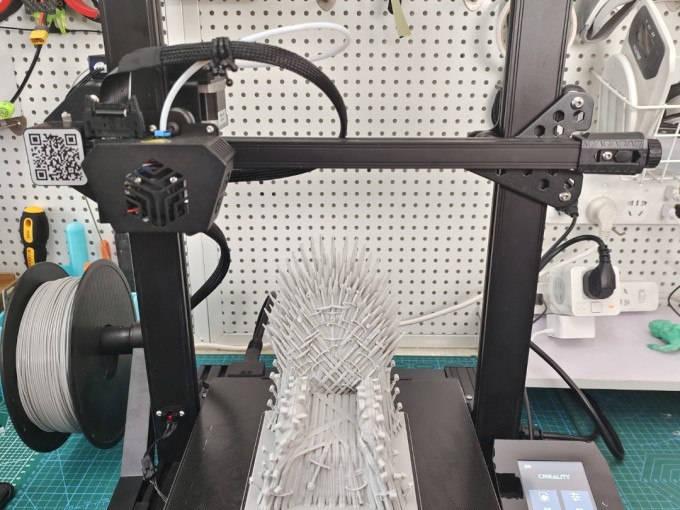
3. Avoid mechanical collision: If the limit switch fails or the position is wrong, the print head may go beyond the movement range, causing damage to mechanical parts.
Third, how to manually adjust the limit switch?
# 1. Preparation before adjustment
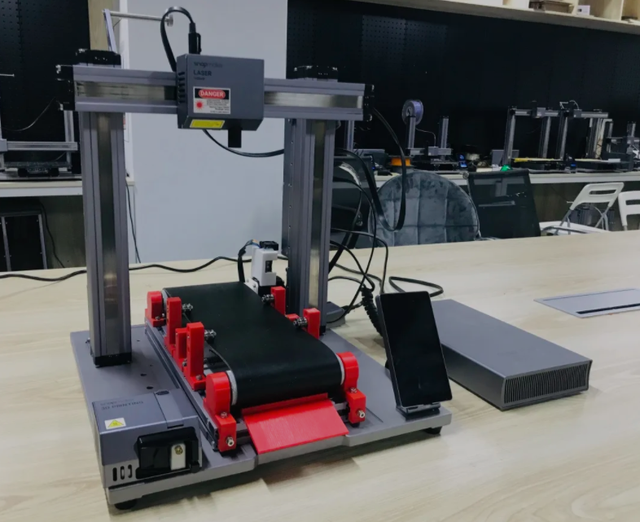
-Turn off the printer to prevent accidental damage.
-Preparation tools: screwdriver, spirit level, ruler or feeler, paper (used to test the distance between nozzle and platform).
-Be familiar with the current type of limit switch (mechanical or inductive) and know whether "software limit" is enabled in the firmware settings of the motherboard.
# 2. Adjustment of Z-axis limit switch (taking mechanical type as an example)
-Move the printing table to the lowest point of Z axis (it can be manually operated through the control panel).
-Loosen the fixing screw of Z-axis limit switch.
-Slowly raise the printing platform until the nozzle can just gently press an A4 paper and slightly pull the paper.
-At this time, tighten the limit switch screw to trigger the signal at this position.
-Repeat the test several times to ensure that the distance between the nozzle and the platform is consistent after each trigger.
# 3. Adjustment of limit switches on X axis and Y axis
The limit switches of these two axes are mainly used to determine the starting position of the print head (usually the left front corner). When adjusting, it is necessary to ensure that the print head can be accurately positioned without deviation. The adjustment method is relatively simple, mainly by moving the print head to the limit switch to observe whether the homing signal can be triggered accurately, and if there is deviation, the switch position can be fine-tuned.
Fourth, use firmware to assist adjustment
Some 3D printers support limit switch calibration through firmware (such as Marlin, Repetier, etc.). For example:
-Z-axis leveling assistance: Enable the "Z-probe" function and cooperate with the automatic leveling sensor to realize more accurate height detection.
-Software limit opening: avoid hardware collision caused by limit switch failure.
-Fine-tuning parameter setting: according to the actual test results, fine-tune the Z-axis Z-offset value to improve the leveling accuracy.
V. Matters needing attention
-Be careful and patient when adjusting the limit switch to avoid switch damage caused by rough operation.
-Test the nozzle height after each adjustment to ensure that the first printed layer can adhere well.
-For the inductive limit switch, it is necessary to ensure that the distance between it and the metal platform or magnet is appropriate to avoid false triggering.
tag
Correctly adjusting the limit switch of 3D printer is one of the basic steps to ensure the printing quality. Whether it is a novice or an advanced player, mastering this skill will greatly improve the printing efficiency and success rate. With the development of technology, automatic leveling system is gradually popularized, but understanding and mastering the principle of manual adjustment is still an important means to solve problems and optimize printing effect.

 Hotline:18914229323

 18914229323
 huichangwen@126.com