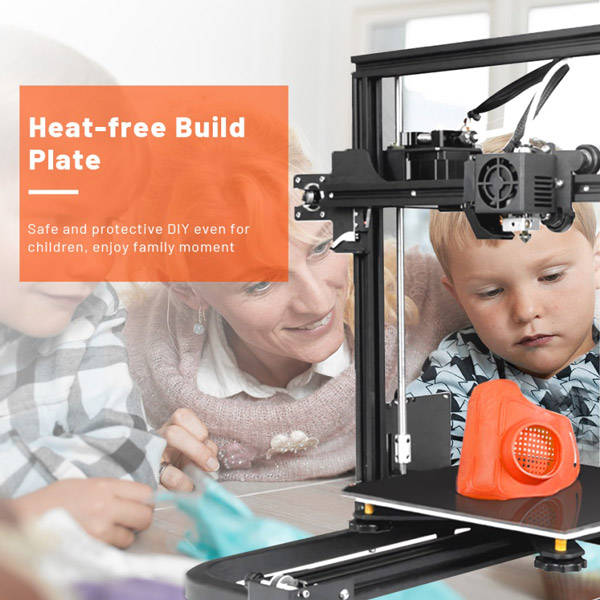
When using a 3D printer to print, the Heated Bed, as an important component to improve the printing quality and success rate, plays an important role. Especially when printing materials such as ABS and PC which need high adhesion and stability, it is particularly important to install and use the hot bed correctly. This paper will introduce in detail the steps and precautions of how to install a hot bed on a 3D printer.
I. Preparations
Before installing the hot bed, the following tools and materials need to be prepared:
-Hot bed (usually glass or aluminum plate with heating layer)
-Double-sided adhesive tape or 3M adhesive tape (for fixing the hot bed)
-Hot bed power cord and temperature sensor (such as K-type thermocouple)
-Basic tools such as wrenches and screwdrivers.
-Multimeter (used to check whether the circuit is normal)
-3D printer motherboard instructions (understand the wiring mode)
Second, the installation steps
1. Dismantle the original platform (if any)
If the printer already has a platform, it needs to be removed first. Pay attention to keep the original screws and structural parts to prevent them from being lost.
2. Clean the platform base
Clean the base surface of the printer with alcohol or detergent to ensure that there is no dust and oil stains to enhance adhesion.
3. Paste the hot bed
Stick the hot bed flat on the base of the printing platform, and be careful not to generate bubbles or wrinkles. It is recommended to use double-sided adhesive tape or special 3M adhesive tape for fixing, so as to ensure that the hot bed is closely combined with the platform.
4. Wiring connection
According to the wiring diagram of the 3D printer motherboard, connect the power cord and temperature sensor of the hot bed to the corresponding interface. A hot bed usually has two power line interfaces (positive and negative electrodes) and a temperature sensor interface. When wiring, ensure that the connection is firm, and wrap the exposed part with insulating tape to prevent short circuit.
Step 5 test the hot bed
After turning on the power supply, start the heating function of the hot bed in the control interface, observe whether the temperature rises, and use a multimeter to measure whether the current and voltage are normal. If there is any abnormality, immediately cut off the power and check the line.
6. Leveling platform
After installing the hot bed, the level of the platform must be recalibrated. Because the thickness of the hot bed may be different from the original platform, the original leveling state may have changed. Adjust by manual or automatic leveling function to ensure the uniform distance between the nozzle and the hot bed.
Third, matters needing attention
-Be sure to cut off the power during wiring to prevent electric shock or burn the motherboard.
-Different models of 3D printers have different requirements on the hot bed voltage, so it is necessary to confirm whether it is 12V or 24V hot bed to avoid voltage mismatch.
-If the heating of the platform is uneven after installation, it may be due to poor contact or false adhesion of the hot bed, which needs to be checked and re-treated.
-After long-term use, pay attention to whether the hot bed is aging or degumming, and replace it in time to ensure the printing quality.
IV. Conclusion
By correctly installing the hot bed, the printing success rate and model adhesion can be significantly improved, especially when printing high-demand materials. As long as you follow the steps and pay attention to safety matters, even beginners can successfully complete the installation and debugging of the hot bed. I hope this article can help you better understand and master the installation method of 3D printer hot bed.

 Hotline:18914229323

 18914229323
 huichangwen@126.com